CSS Basics
Overview
Up until now, we’ve been working pretty exclusively on marking up the content for a webpage using HTML. It’s time now to talk about working on the presentation of that content. To control the presentation of the content, we need to learn a new code language called CSS which is used to style HTML content.
CSS stands for Cascading Style Sheets. Essentially this is the same thing as making a stylesheet in InDesign. You need to identify a “chunk” of the document to style in a certain way and attach a style with style commands for that specific “chunk”.
In web design, the most common and appropriate way to use style sheets is to create them in their own separate file. The file extension for a css stylesheet is .css. (way easy to remember, just like .html), yay nerds.
Lesson Setup
Let’s get started in our usual fashion by creating the folders and files we’ll need for our lesson.
- Create a new Lesson06 folder inside of Bob
- Create two subfolders: notes and root
- Inside the root folder, create an images folder
- Open up TextMate
- File > New to open a new file
- Code in your boilerplate HTML making sure to add a title to the page. I’m calling mine: Basic CSS.
- Save your HTML file to your Lesson06 root folder with the name: lesson06.html
Your file and folder structure should look like (fig. 1)

Your HTML should look something like this:
<!doctype html>
<html>
  <head>
    <title>Basic CSS</title>
  </head>

  <body>


  </body>

</html>
- Launch your web browser
- Open your lesson06.html file
Here’s about how it should look in your browser. (fig. 2)
Note: You may have noticed that I’ve shortened the lesson setup to a list of action steps above. If you need a refresher on folder and file organization see the lesson 3 setup section.
Creating the Stylesheet
Now if we want to style this site, we’ll need to create a stylesheet.
- Inside the root folder, create a css folder
- Open up TextMate
- File > New to open a new file
- File > Save
- Navigate to the “css” folder you created
- Name your file, style.css
- Hit Save
Your folder structure should now look like (fig. 3).

Linking the Stylesheet
Before we can begin to write our styles, we’ll need some site content. Navigate back to your lesson07.html file and add the following HTML between your <body></body> tags.
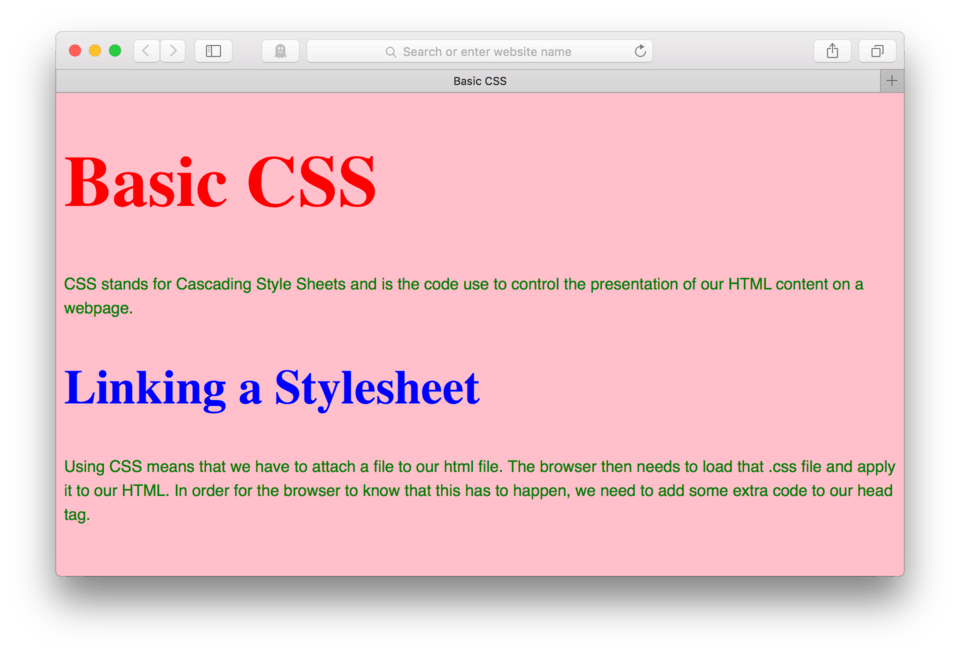
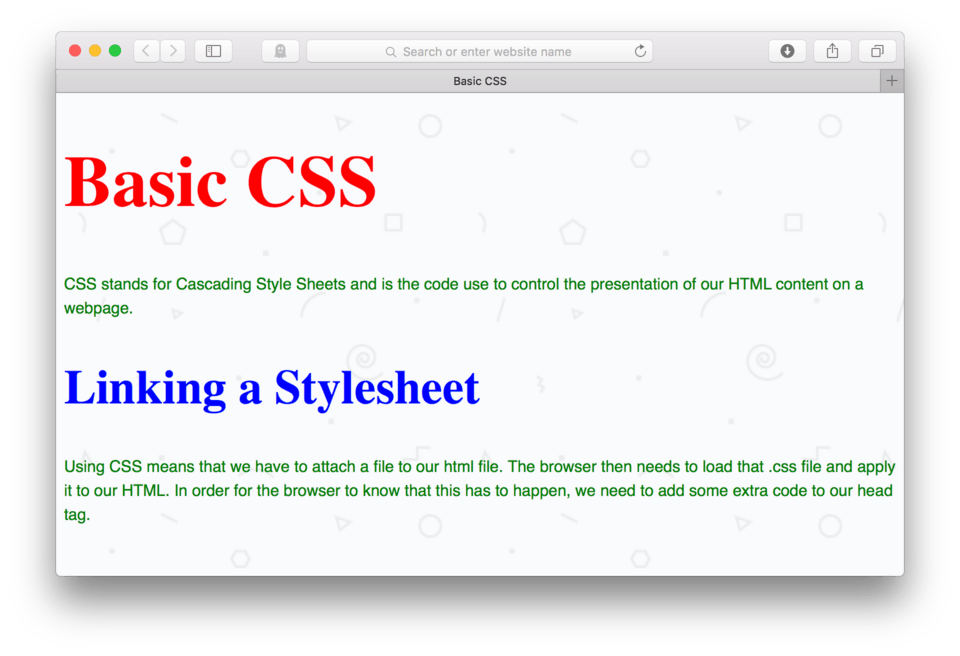
<h1>Basic CSS</h1>
<p>CSS stands for Cascading Style Sheets and is the code use to control the presentation of our HTML content on a webpage.</p>

<h2>Linking a Stylesheet</h2>
<p>Using CSS means that we have to attach a file to our html file. The browser then needs to load that .css file and apply it to our HTML. In order for the browser to know that this has to happen, we need to add some extra code to our head tag.</p>
Next, we need to make a connection between our stylesheet and this HTML file that we want to style. To do this we need to “link” or “attach” this stylesheet to our HTML file.
If you remember back to the beginning of these lessons, we talked about the head section. We learned that the stuff in the head section is “for the browser” and the browser needs to know that a CSS stylesheet needs to be loaded along with the html, so we need to add some code to the head section to achieve this.
- Make room after your
<title></title>tags - Type:
<link href="css/style.css" rel="stylesheet" />
Your code should look like this:
<!doctype html>
<html>
	<head>
		<title>Basic CSS</title>
		<link href="css/style.css" rel="stylesheet" />
	</head>

	<body>

		<h1>Basic CSS</h1>
		<p>CSS stands for Cascading Style Sheets and is the code use to control the presentation of our HTML content on a webpage.</p>

		<h2>Linking a Stylesheet</h2>
		<p>Using CSS means that we have to attach a file to our html file. The browser then needs to load that .css file and apply it to our HTML. In order for the browser to know that this has to happen, we need to add some extra code to our head tag.</p>

	</body>

</html>
Ok, now let’s talk more about the new <link> tag we just used in our code above.
We used a new tag, <link>, which means link as in attach rather than as a button-type link the <a></a> is used for. Next we used the href= attribute to provide directions to our new file, just like when we connected pages together a few lessons ago. We also used a new attribute, rel= which means “relationship” and told the browser that the relationship between this HTML file and the linked file is that the linked file is a stylesheet.
You probably also noticed the the link tag, like the image tag, <img />, is a self closing tag and uses a forward slash before the closing angle bracket instead of a closing tag. Like the image tag, all of the necessary information for the tag to work happens using attributes inside the opening tag. There is no actual content to put between an opening and closing tag, so we can simplify and instead of using a separate end tag, </link>, we can simply say /> at the end of the opening tag.
Writing CSS
In order to understand how we write CSS, we need to first talk about how CSS understands our HTML.
We need to go back to that ideas that every HTML tag we wrote is a folder that holds content. It may be a paragraph, it may be an image, or it may hold another folder, which may hold another folder and so on.
CSS understands these “folders” and “folders inside of folders”. So, similar to linking images, we need to provide “addresses” for all of our content we want to style.
In order to style the content of our h1 using CSS, we’ll identify (or call it) use it’s tag name in the CSS file, <h1> (if there isn’t anything more specific to use, which we’ll talk about later).
So let’s try an example. Let’s ask our <h1> to change color.
- Find your style.css file in TextMate
- We need to call our elements by name, so first we type:
h1. That gets the attention of the<h1>in our HTML document. - Next we have to issue a set of commands, to do this we hit the Space Bar and then type:
{( shift + { , otherwise known as the curly bracket) - Hit Enter to move to the next line
- Inside the curly bracket goes the first command. To change the color of a text element, we tab in and type:
color: - Next we type in the color we want followed by a semicolon, let’s type:
red; - Now we end the command with the opposite curly bracket, type:
}.
Your CSS file should now look like this:
h1 {
	color: red;
}
Let’s take a look at what happened.
- Save your css file
- Double-check that your HTML file is also saved
- Navigate to your browser and Refresh
Mine looks like this: (fig. 4).
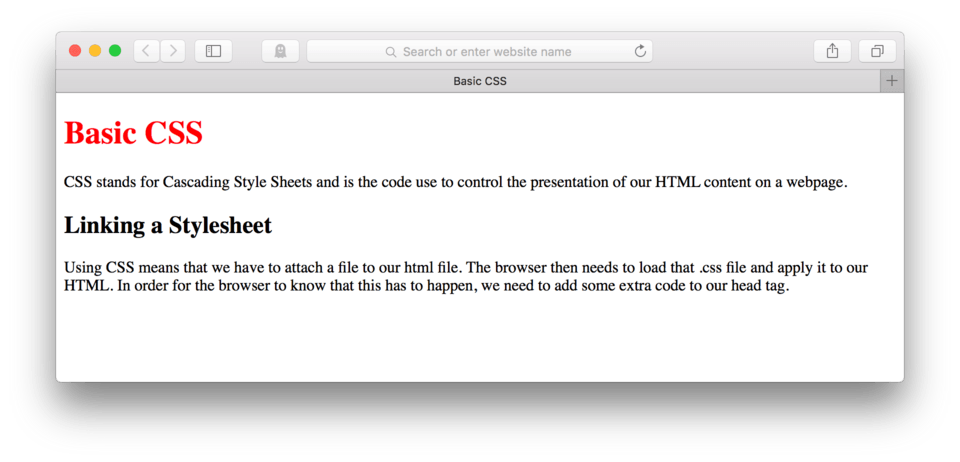
If all went OK, your h1 should have turned red. That is what CSS does in a nutshell. It says, “Hey element x, do this!” In our example above, it said, “Hey h1, be red!”.
Let’s try another one. Let’s tell our h2 to be blue.
- Find your CSS file
- Move to the next available line and hit Enter to create some space between each command
- Ok, now let’s call on our h2, type:
h2 - Now Space Bar once and type:
{and hit Enter to move to the next line - Since this is another text color request, we’ll do the same thing, let’s tab in and type:
color: - Now, we’ll choose our color, let’s type:
blue; - Hit Enter and end our CSS command with a right curly bracket, so type:
}
Your CSS file should now look like this:
h1 {
	color: red;
}

h2 {
	color: blue;
}
Let’s take a look at what happened.
- Save your CSS file
- Double-check that your HTML file is also saved
- Navigate to your browser and Refresh
Mine looks like this: (fig. 5).
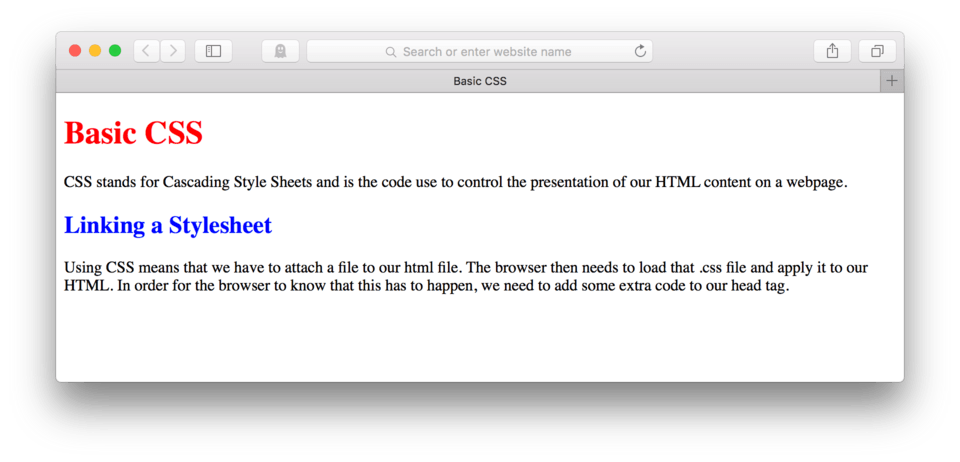
The h2 text turned blue, just like we expected.
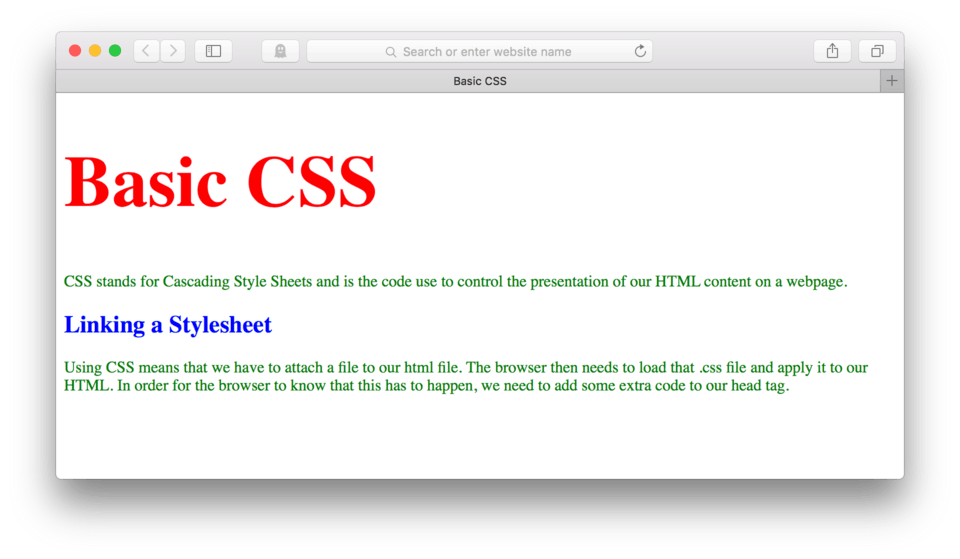
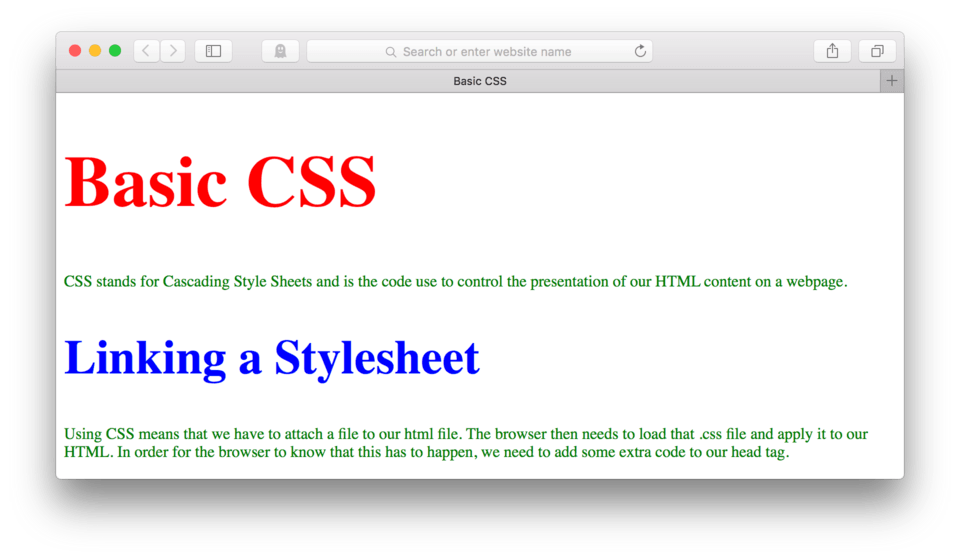
Let’s keep this going and tell our paragraphs to be green. You try on your own this time, I’ll wait.
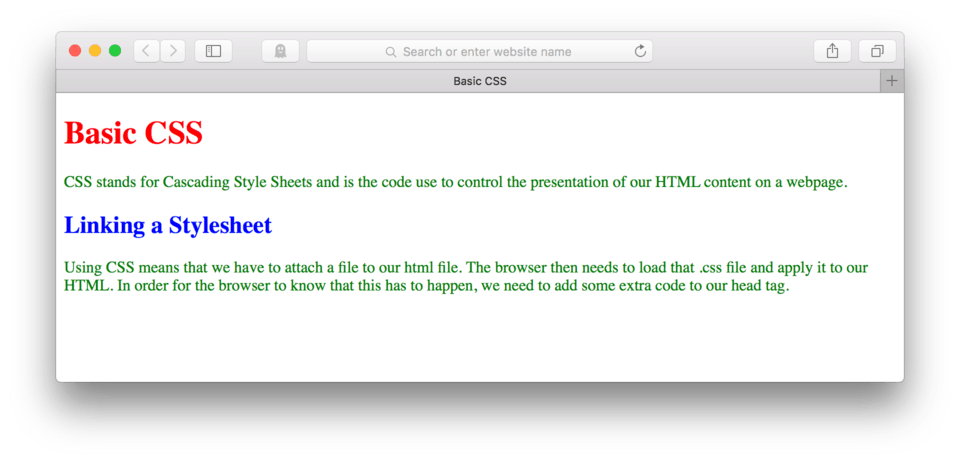
Here’s what it should look like in the browser: (fig. 6).
and in case you wanted to double-check your work, here’s my CSS:
h1 {
	color: red;
}

h2 {
	color: blue;
}

p {
	color: green;
}
So you probably already noticed this but I think it is worth pointing out that since we had two paragraphs in our file, both of them turned green. It’s safe to say that our CSS applies the commands to all elements that meet the call criteria. So, if we say “Hey paragraph”, we’re actually saying, “Hey paragraph elements”, so all content tagged with <p></p> will follow the CSS instructions and in this case, turn green.
CSS Vocabulary
In the above example we used CSS to change the color of a number of different elements. Before we continue, it is important to understand some vocabulary for the CSS we just wrote:
- selector - the first bit of the CSS where you call out the HTML element(s) to be styled. In the examples we’ve already completed, we’ve used
h1,h2, andpas selectors. The selector is always followed by a left curly bracket:{. - property - this is the particular thing your are styling followed by the colon. In the example we’ve done above, the property is
color: - value - this is what the property is going to change to. In our above examples, the value was the specific color we wanted to change the different text elements to (example:
red;).
CSS Color Choices
As we just learned, color is one of the things that we have control over when designing our webpages. In the above example we used simple color names to tell the browser what color we wanted our HTML elements to be. Though that works fine, there are going to be times when we want to use very specific colors. CSS allows us to input color in a few different ways.
- Color names. We can use color names as we just did. This is great for the basics, but provides for very little control over the exact color. It works best for
color: black;andcolor: white;since there aren’t any variations of those guys. - RGB values. The value when using RBG is written:
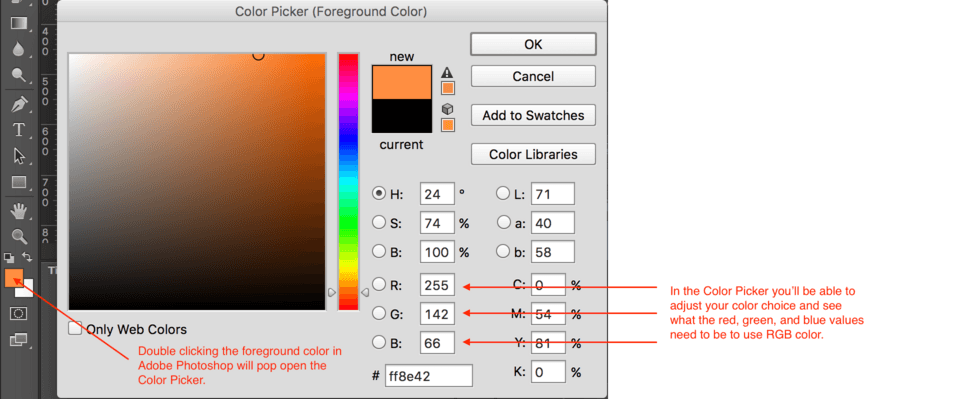
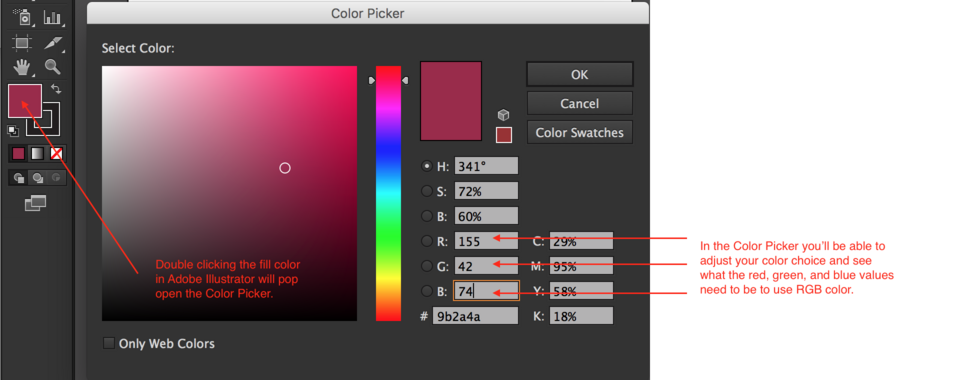
color: rgb(0-255, 0-255, 0-255);with the first number in the parenthesis being red, the second green, and the third blue. RGB uses a scale of red, green, and blue with each color contributing on a 0-255 spectrum. If all values are set to 0, then the color will be black. If all are set to 255, the color will be white. Anything in between will produce the 256 million color spectrum we are used to. The easiest way to set color in RGB is to find your color in another software like Adobe Photoshop or Adobe Illustrator. From the toolbar, you can double-click the fill or foreground color to bring up the Color Picker Palette. From that palette, you can easily see the Red, Green, and Blue values used to make the color you’ve selected. (fig. 7) and (fig. 8).
- RGBA. This one works exactly like RGB only we can add a fourth value, the alpha value. An alpha value allows us to set opacity for our color. We do this as a decimal where 1 is equal to 100% opaque and 0 is 100% transparent. Let’s say we wanted a black color that is 50% opaque. We could say:
color: rgba(0, 0, 0, .5); - Hexidecimal. After simple color names, hexadecimal is the most common way to set color values online. Like RGB, we can find the hexadecimal by opening up the Color Picker. Instead of reading the RGB, we need to look for the
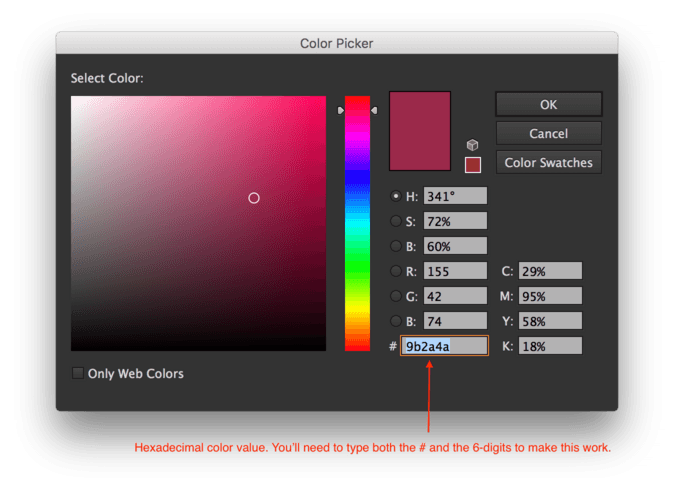
#followed by a 6-digit number. This will be the hexadecimal value. When we input the hex color, we need to use the#as well as the numbers. For example, if we wanted white we would say:color: #ffffff;(fig. 9).
Basic Text Properties
So we have learned how to change the color of text elements using CSS. That’s pretty neat, but it isn’t the only thing we can change about our text elements. We can also change the size of the font, the style, and the weight just to name a few of the basics.
To change the size of a text element, we use the property, font-size: and for the value, we can use a whole variety of different units, some fixed units like pixels or points and some relative units like percent, ems and rems.
Now, an example. Let’s tell our h1 to be bigger.
- Find your CSS file
- We already have h1 as a selector from when we asked it to be red. We can add more properties and values to this same selector. So, after the
red;hit Enter to move to the next line. - Type:
font-size: 72px; - Save your CSS file and Refresh your browser
Your code should now look like this:
h1 {
	color: red;
	font-size: 72px;
}

h2 {
	color: blue;
}

p {
	color: green;
}
and your browser should look like this: (fig. 10).
Now, let’s ask our h2 to be larger as well. Let’s go ahead and set the font-size: to 48px; like this:
h2 {
	color: blue;
	font-size: 48px;
}
If we Save and then Refresh in our browser, we get this: (fig. 11).
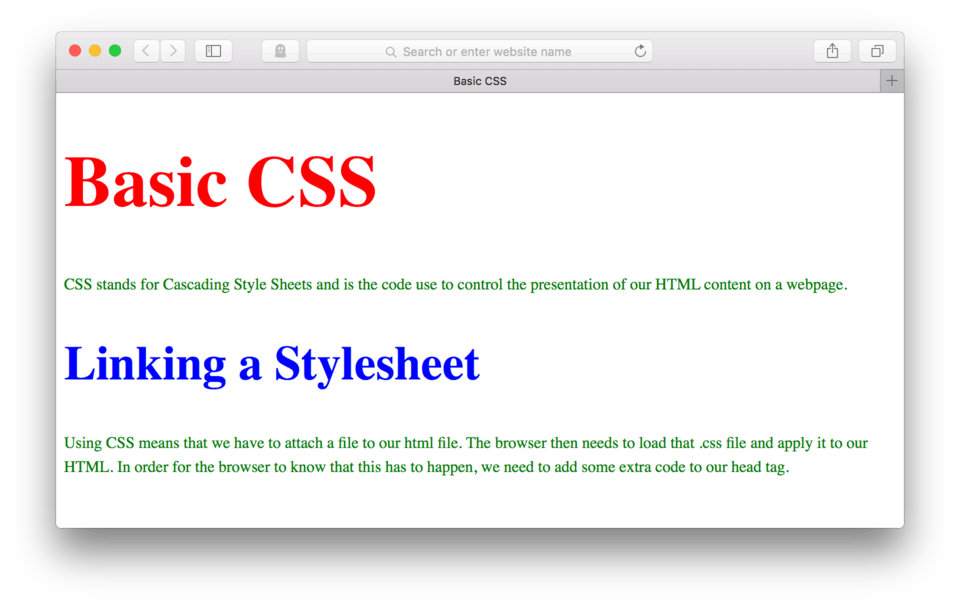
Next, let’s add a little bit more space in-between the lines in the paragraph to make our text just a little easier to read. Print designers would call this leading, but in web design we refer to this as line-height, so the property used is line-height:. I typically like to give this a value in a special unitless measurement.
For line-height, this unitless measurement is essentially a percentage based on the current font size. So in order to figure out how much larger or smaller than the current font size you want the line-height to be, you just multiply the current font size by that number. So, if I say: line-height: 1.5;, I’m saying make the line-height (leading) between the lines of a paragraph approximately 1.5x larger than its font size.
Let’s give that a try.
- Move back to your CSS file
- In the set of paragraph commands, following the
color: green;, hit Enter to move to the next line - Type:
line-height: 1.5; - Save your CSS file and Refresh in your browser
This is what my code now looks like:
p {
	color: green;
	line-height: 1.5;
}
Note: Notice that there isn’t any space between the number and the units. This is really important, if you put a space between them they are no longer grouped as one value and the browser won’t acknowledge the change.
Here’s what my page looks like now: (fig. 12).
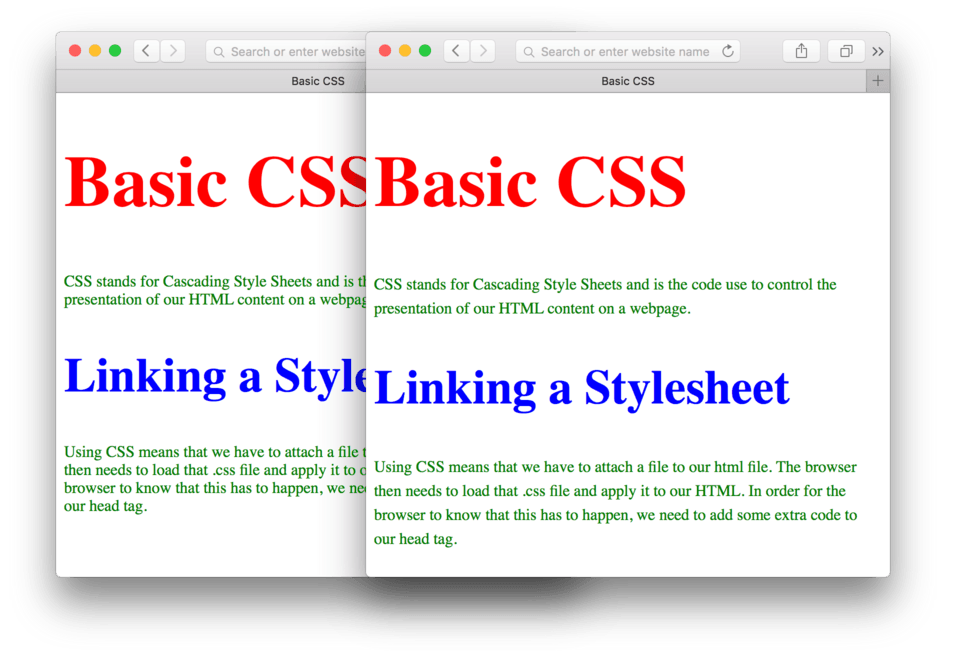
If we compare the before and after for the line-height: change, we can see that the space between the lines of paragraph text are now 150% of what its font size is. In (fig. 13) the old version is on the left and the new one is on the right.
Serif vs. Sans-Serif
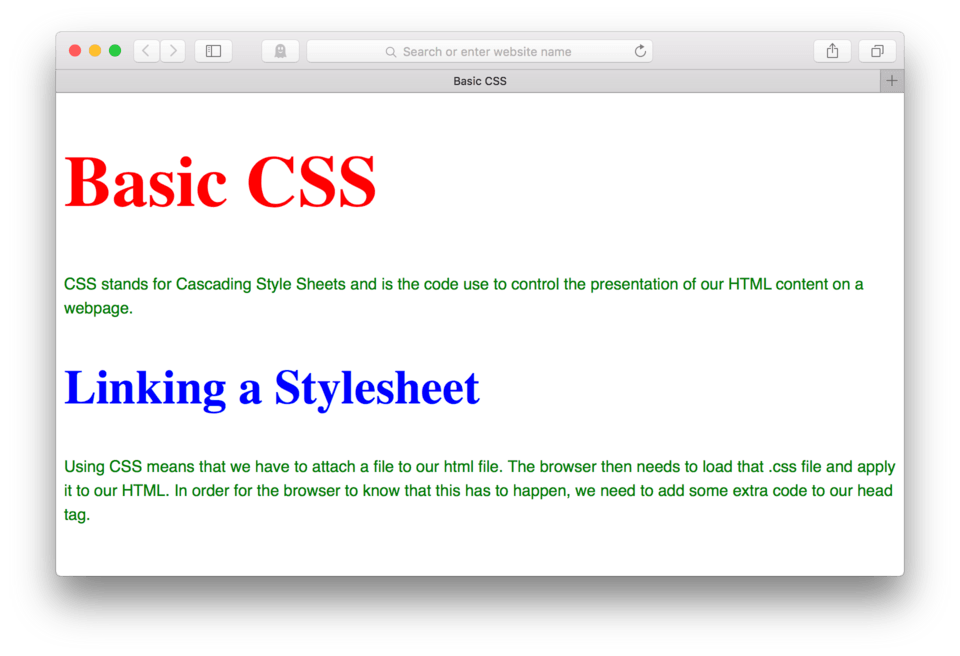
I’d like to cover one more CSS change we can make to text, font. Fonts are an incredibly complex issue in web design and we’ll dedicate a whole lesson to them later on, but for right now, I want to introduce just the most simple font request: sans-serif vs. serif .
Most browser use a serif font as the default. We can change this using CSS. The property we use is font-family: and the value used to change to a sans serif font is simply, sans-serif;.
Let’s give it a try. Go ahead and add this to your paragraph selector. The code should look like this:
p {
	color: green;
	line-height: 1.5;
	font-family: sans-serif;
}
Good deal?
Let’s Save and then Refresh
With any luck, your paragraph text should have changed from a serif to a sans-serif font. (fig. 14)
You might be wondering what font your browser is using. This is one of the magic mysteries of the internet we’ll explore later. For now, I want you to understand that what is happening here is that the browser is telling your personal computer (or the one you’re using anyway) to display this particular text using a sans-serif font that is available on that specific computer.
The fonts, at least not now, don’t come along with the website. They depend on the system fonts loaded on the visitor’s computer. As you may already be thinking, not all computer have the same fonts loaded, and you would be right. This is just the tip of the iceberg for the complexity that is web fonts to come in a few lessons.
Body Changes
Despite the suggestive heading, I’m actually talking about CSS changes that we can make to the <body> tag of our html. We learned a few lessons back that the <body> tag holds all the content for our page. Now that we’re talking about how and what we can style, the <body> tag is going to give you many styling opportunities to come. The first one we’ll explore is background-color:.
It’s always a good idea to write your CSS in the same order that the selector appears in the HTML document, so we’ll make room above our h1 { block for the new body { block.
- Make some room at the top of your CSS, above your h1 CSS block
- Type our selector and our opening curly bracket,
body { - Hit Enter to move to the next line
- Type:
background-color: - Type:
pink;as the value and hit Enter to move to the next line - Now end the block with the closing curly bracket:
} - Hit Enter to create some white space before the h1 selector
My CSS code now looks like this:
body {
	background-color: pink;
}

h1 {
	color: red;
	font-size: 72px;
}

h2 {
	color: blue;
	font-size: 48px;
}

p {
	color: green;
	line-height: 1.5;
	font-family: sans-serif;
}
Let’s Save and then Refresh the browser
Your page should now look something like (fig. 15)
Beautiful right? I know, it’s actually pretty hideous, but hopefully you get the idea. We can see now that the body is actually everything inside of the browser window. It is our canvas. The default background-color is white, so we didn’t really think about it. Now, we can very clearly see that the body element is the parent for everyone. It is the folder that holds all the other elements.
Note: This idea of a parent is important in CSS. We talked a lot already about folders and nesting in HTML. Now that we’re looking at CSS this becomes an even more important thing to understand. All elements inherit (like children) from their parents. Any style (CSS) that applies to the parent, will also apply to its children (nested elements) unless the children are given more specific directions. More on that to come.
Background Images
In addition to changing the background color of an HTML element, we can also use CSS to set an image as the background of an element. There are a few different ways in which you might want to do this but, probably the most common is to set a subtle patten in the background of the <body> so that we have a bit of color and or texture in the background of our entire page. Let’s give it a try.
First, we’ll need to identify an image that we want to use for our background. We can really choose any image we like, but if we want to do this justice, our best bet is to find a small(ish) image that is designed so that if we were to tile it over and over again it would create a seamless pattern. This seamless pattern is important for a couple of reasons, the first is that we can use one small image and repeat it rather than have to use a very large image which saves file size making our page load faster and suck down less data.
The other major reason is that we can’t predict how big we’ll need to make an image to make sure that we get full coverage of our background. As you know, it is pretty much impossible to know what size screen and what device our user will use when viewing our page. Because of this we wouldn’t be able to make one single image that would work for all device sizes without creating at least some issues that will affect the viewing of our page.
Subtle Patterns
Lucky for us, there is a great free resource for these small subtle seamless pattern images. We can visit a website called Subtle Patterns to help us out. This site provides us with hundreds of already prepared images that can be endlessly repeated for use as background images in our site. It has a great search so you can find your pattern by color or pattern type.
Let’s go pick out a pattern to use on our site.
- Visit subtlepatterns.com
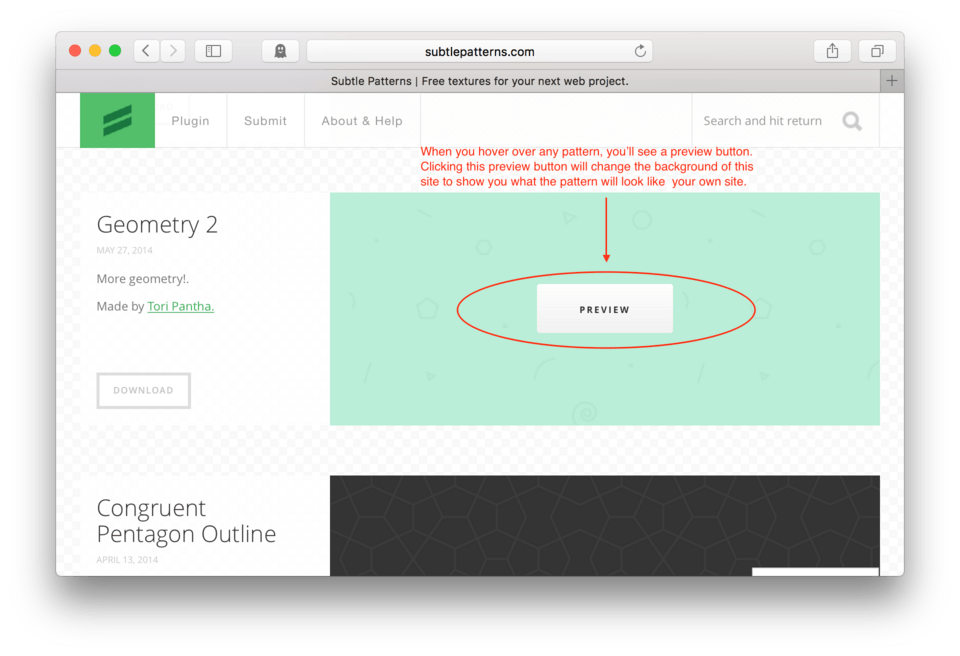
- Take a look around, you can scroll down to see options and hit the Preview button on any of them. This will cleverly turn the background of the subtlepatterns.com site to match your selection so you can preview how it would look on your own site. (fig. 16).
- When you’ve found the pattern you’d like to use, click Download to download the pattern to the downloads folder on your computer. (fig. 17). I’m going to choose Geometry 2 which I found on the third page of scrolling or so.

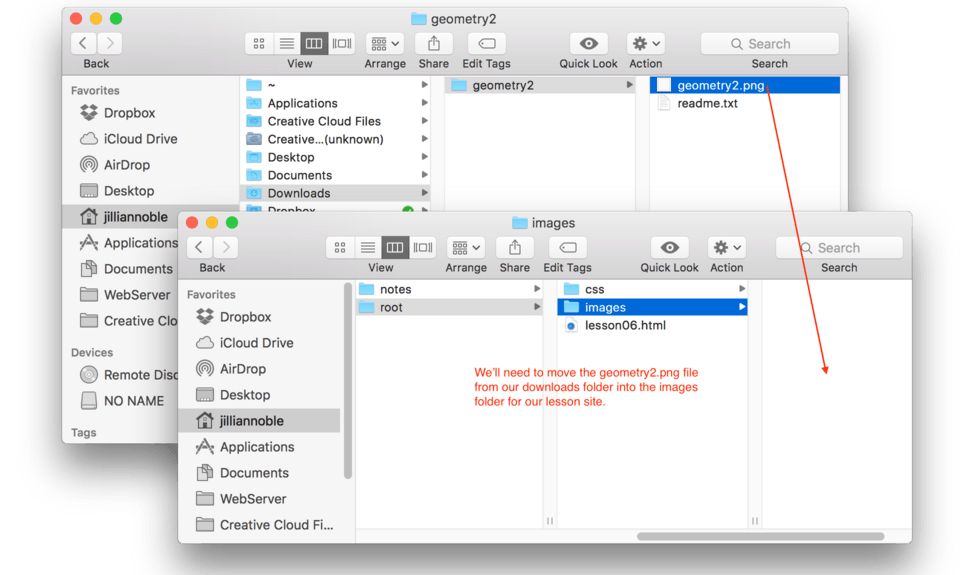
- Once you’ve downloaded the file, we’ll need to move it into the images folder that lives in the root folder for our site. If you check your downloads folder on your computer, you should see a new folder that is titled with the name of the pattern that you choose. Mine is called Geometry 2. Inside that folder will be two files: a .png file and a .txt file. We’ll need to move the .png file over. (fig. 18).
Great, now that we have it ready to go in our images folder, we can use it in our CSS.
Background Image CSS
The CSS property we use to set a background image is background:. The value that we use has a few component parts because we need to give the CSS an address to the images we need to use and then we also can set it to repeat, not to repeat, to repeat only across the x axis or the y axis.
To set the address we use url(../images/geometry2.png). This address looks quite a bit different than our HTML addresses. We use url to let the CSS know an address will follow, then inside a pair of parenthesis, we put the address in. The address itself, however, works exactly like any other address we’ve talked about. It has to start where the browser is reading from, in this case, it’s the CSS file. To get to the image from the CSS folder, we need to back out one folder ../, and go down into a folder images/ and then we tell the browser the name of the file, geometry2.png.
Next, we tell the browser whether or not to repeat the image. If we want it to only show once and not repeat we cant type: no-repeat;.
Let’s give that a try.
- Find your
body {selector and delete the line:background-color: pink; - Now, replace that with:
background: url(../images/geometry2.png) no-repeat; - Save your CSS and refresh your browser.
Here’s my CSS:
body {
  background: url(../images/geometry2.png) no-repeat;
}
and here’s how it looks in the browser. (fig. 19).
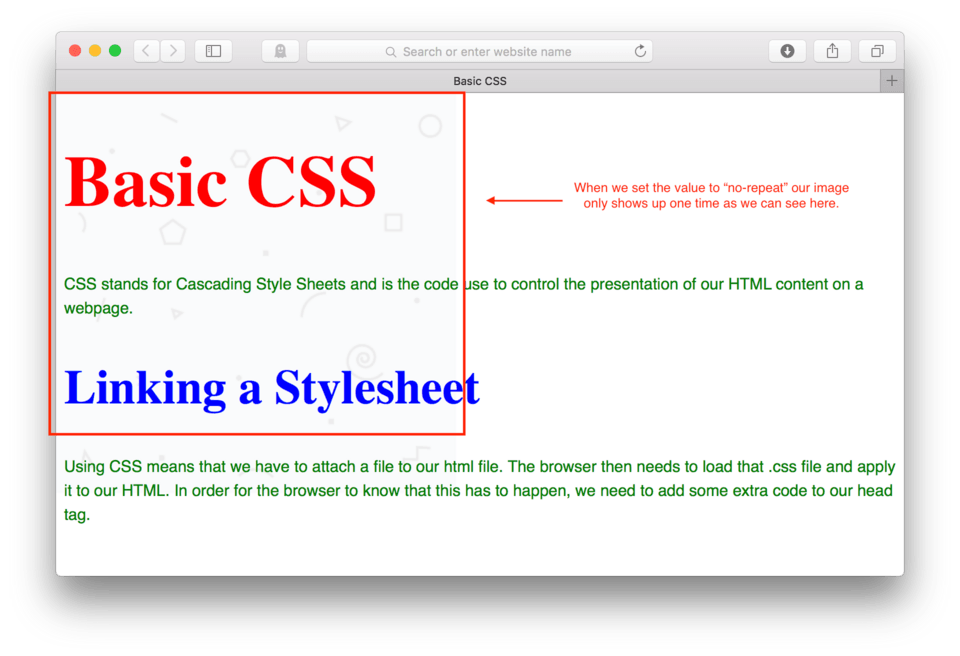
We can see that our image did show up in the background of our body, and it also only appears once. That is because we use the value no-repeat;. Let’s change the value to repeat; to see what happens.
- Find your CSS file
- Change
no-repeat;torepeat; - Save your CSS file and refresh your browser
Here’s my CSS:
body {
	background: url(../images/geometry2.png) repeat;
}
and here’s how it looks in the browser. (fig. 20).
Making that change should have made a big difference. We now have what appears to be a seamless background. No matter how big or small you pull your browser, the background shouldn’t break. The image will simply repeat on the x and y axis as many times as necessary to cover the open background space.
Pretty neat, huh?
Note: You could also set the repeat value to
repeat-x;orrepeat-y;if for some reason you only needed or wanted the image to repeat horizontally or vertically rather than both or neither.
Styling Links
Links are one of my favorite HTML elements to style because they have a neat level of interactivity we can control easily with just CSS. You have probably already experienced this even today already, you hovered over a text link and something happened. Maybe an underline appeared, maybe it changed color, maybe even something else entirely. Chances are that those things were accomplished with just a few lines of CSS.
To start, let’s first add a link to our HTML so we can begin to style it.
- Find your lesson07.html file (I know it’s been a while)
- After you closed the paragraph, hit Enter a couple of times to make some room.
- Let’s go ahead and recreate the external text link to Google we made a few lessons back. Type:
<a href="http://www.Google.com">Google!</a> - Save your HTML file and Refresh in the browser
Here’s my HTML so far:
<!doctype html>
<html>

	<head>
		<title>Basic CSS</title>
		<link href="css/style.css" rel="stylesheet" />
	</head>

	<body>

		<h1>Basic CSS</h1>
		<p>CSS stands for Cascading Style Sheets and is the code use to control the presentation of our HTML content on a webpage.</p>

		<h2>Linking a Stylesheet</h2>
		<p>Using CSS means that we have to attach a file to our html file. The browser then needs to load that .css file and apply it to our HTML. In order for the browser to know that this has to happen, we need to add some extra code to our head tag.</p>

		<a href="http://www.Google.com">Google!</a>
	</body>

</html>
Ok, cool. We should now have a boring old blue underlined link to Google. (fig. 21)

Let’s do some CSS styling to make this link look a little more modern.
- Find you CSS file in TextMate
- If we take things in order, you’ll want to add this CSS block to the bottom of your current file.
- Now, we type our selector and opening curly bracket:
a {then hit Enter to move to the next line - Let’s change the color of the link from blue to a red raspberry color using the hexadecimal
#9b2a4a, type:color: #9b2a4a;and hit Enter - Close the block with the ending curly bracket
} - Save and Refresh in the browser
Here’s my CSS:
body {
	background: url(../images/geometry2.png) repeat;
}

h1 {
	color: red;
	font-size: 72px;
}

h2 {
	color: blue;
	font-size: 48px;
}

p {
	color: green;
	line-height: 1.5;
	font-family: sans-serif;
}

a {
	color: #9b2a4a;
}
No surprises here, our link is now a reddish pink color. (fig. 22)

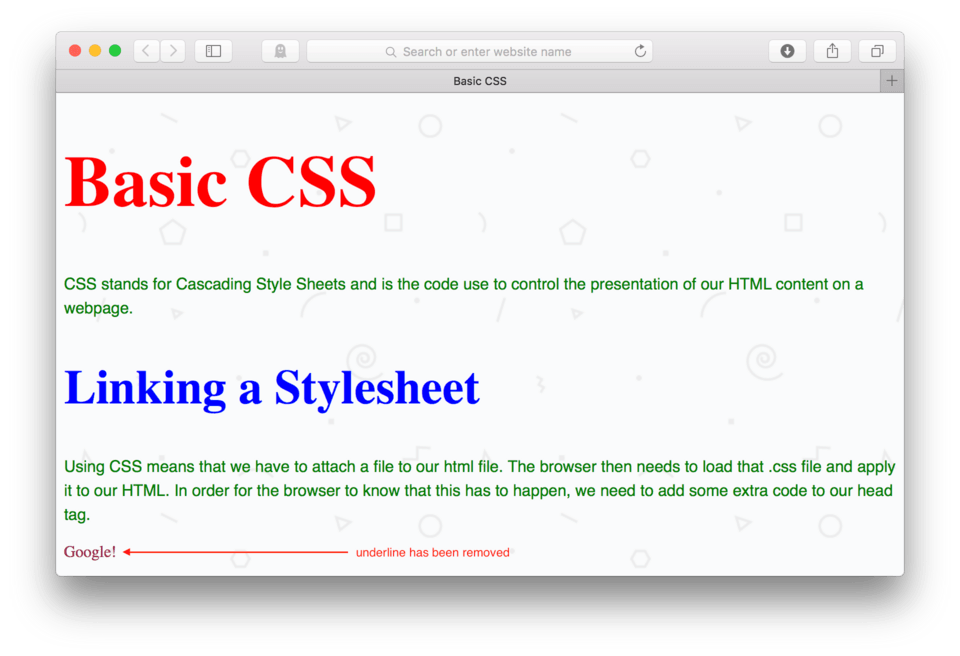
Personally, I prefer to remove the underline from links so that I can use them as indicators when I hover. To remove the underline, we can add another CSS property to our block: text-decoration:.
- In your css file, add
text-decoration:to your link selector block. - To turn off the underline, we need to use the value:
none; - Save your file and Refresh
The underline should have disappeared. (fig. 23)
Pseudo Class
Now let’s say we want the underline to appear when we hover over the link. This is a pretty common thing. In order to do this, we need to learn how to modify our selector to understand a hover. To do this, we need to add what’s called a pseduo class. This is just a fancy term for defining a special state of an element.
For our link to respond to a hover, we’ll set the special state to hover as that is a state the browser already understands for when the mouse moves over an element. We’ll need to write a new CSS block after our initial link block. For the selector we’ll still use a for link but we’ll add the pseudo class: :hover after like this: a:hover. To turn on the underline, we’ll use the property text-decoration; just like before, only now the value will be underline;.
Your CSS for links should look like this:
a {
	color: #9b2a4a;
	text-decoration: none;
}

a:hover {
	text-decoration: underline;
}
If we Save and Refresh, we should see the new hover effect. When we mouse over the link, the underline should now appear and disappear again when we move the mouse away. (fig. 24)
We can change any number of properties of the link in the hover state. We learned how to change text color earlier in this lesson. Let’s go ahead and tell the link to be grey when we hover over it using RGB values for practice.
a {
	color: #9b2a4a;
	text-decoration: none;
}

a:hover {
	text-decoration: underline;
	color: rgb(50, 50, 50);
}
If you Save and Refresh you’ll see that now when you hover over our link, it does two things. It changes color from red to grey, and it goes from no underline to underline. (fig. 25)
Note: The
<a>tag is just like any other text element. You can change any of the properties we changed on any of the other text elements including:font-size:,font-family:color:and a number of other properties we’ll explore more later in this course.
Lesson Conclusion
In this lesson we just barely dipped our toes in HTML content styling using CSS. We learned that CSS requires an additional file, an attached stylesheet, that uses an entirely different coding language to attach certain commands to different HTML elements.
We learned the structure of the CSS code including selectors, curly brackets, properties, and values. We also discussed briefly using pseudo classes for handing elements with special states like creating a new style for hovering over a link on the page.
Up next, the Box Model.